

1. Introduction
This guide provides the installation process required to be performed for MailBuddy-Call application to be activated and used
2. Hardware & Software Requirements
Make sure that the Laptop / PC for MailBuddy-Call installation meets the following Requirements

3. Installing MailBuddy-Call
- Extract the Setup file of MailBuddy-Call containing the Windows Installer Package (.msi) of 32 bit or 64 bit to a preferred location in the local disk
- Run the Setup package called Setup.msi
- MailBuddy-Call setup wizard dialog box appears
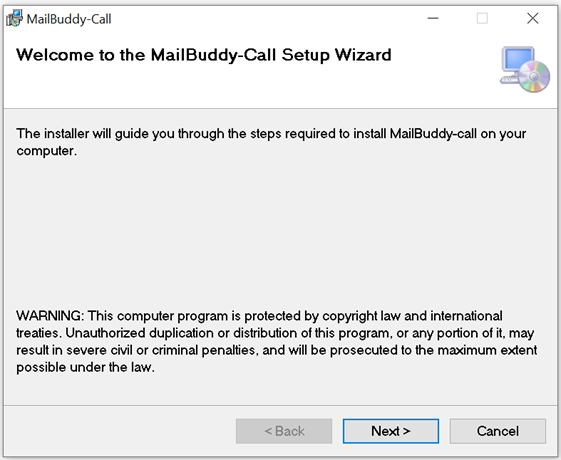
- Press Next
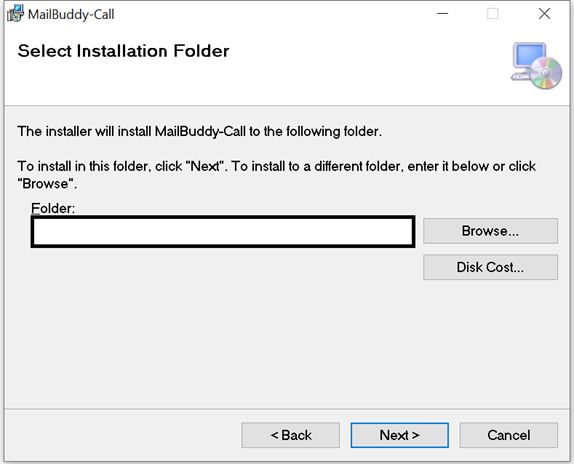
- Select Installation Folder of the user choice or leave in default and press next
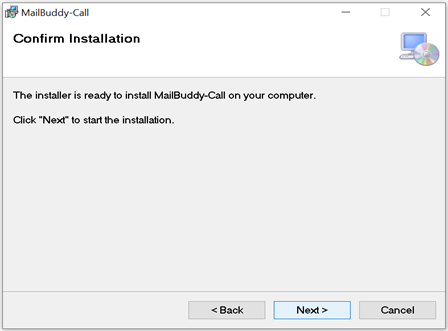
- In the Confirm installation dialog box click next to start the installation
- Give user control in windows as yes
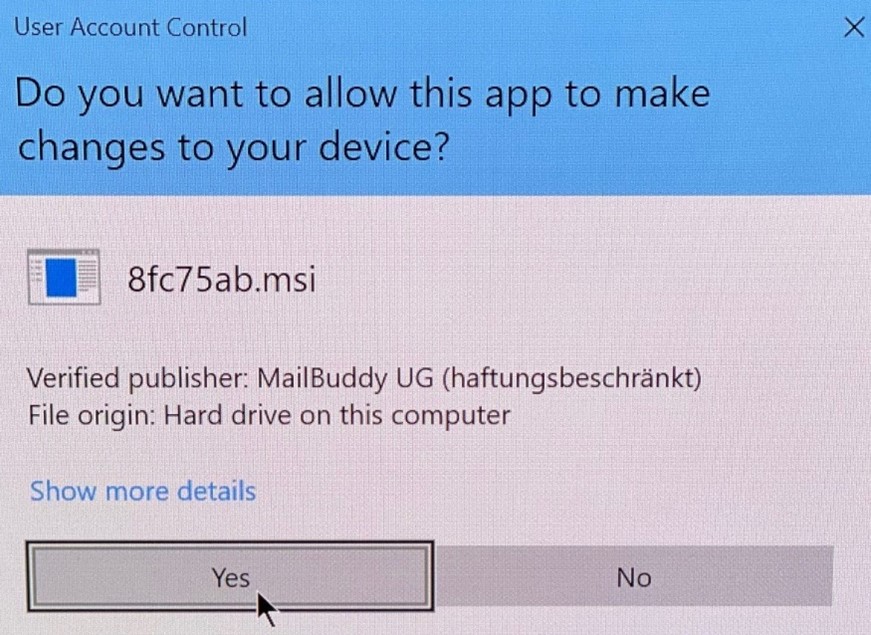
- MailBuddy-Call starts to install
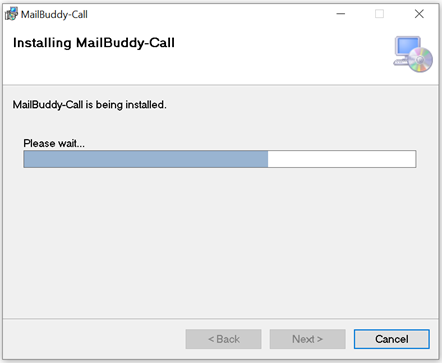
MailBuddy Call install in progress
- During the installation, a verification dialog box appears
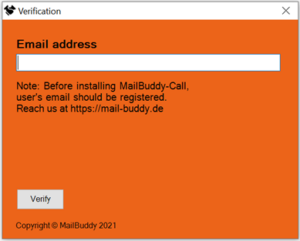
Email Verification from Server
- Here the user needs to enter his/her email address for verification
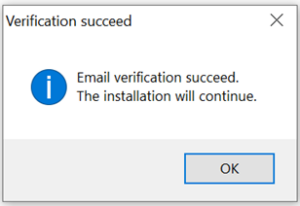
- If the user’s email address is registered in the MailBuddy Server it gets verified
- Else Contact MailBuddy Admin for email verification
- Then the installation is completed

- Reboot your System
- A shortcut to MailBuddy-Call in desktop will appear
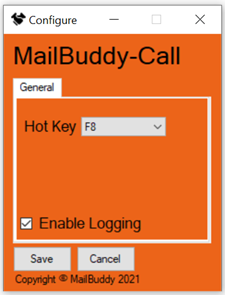
- And the user can save the Hot key configuration of their choice
- The MailBuddy-Call will be running in background automatically when Windows starts up
- As a one-time process for the first time the user must go to the search bar in windows and type choose default app for each protocol

Default application by protocol
- In these settings in the left pane CALLTO function will be there, straight parallel to it there is the Default app option choose an application (Microsoft Teams) as default
